Big ideas but a small budget
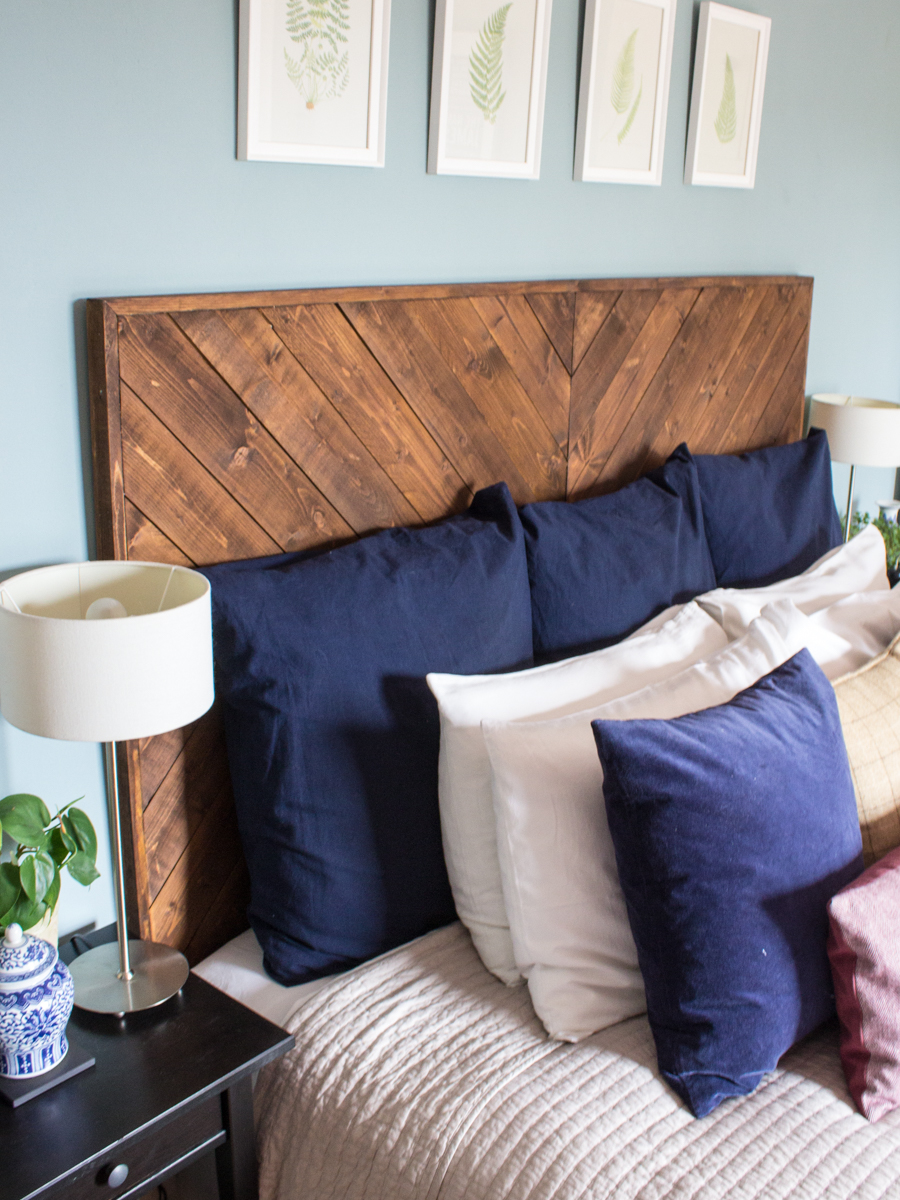
Since we have lived together, Rich has been keen to get a headboard for our bed. Inspiration for this came from a trip to the USA and a visit to a West Elm store. Whilst wondering around the store, Rich came across a headboard that he liked. Unfortunately, it was too big to try and get back to the UK. Many searches for a similar headboards in the uk came up with nothing. After we painted our bedroom, we agreed that we needed to do something about this and build our own headboard.
Right, we can do that!
One of the benefits of space in the garden is being able to do a few large scale projects. This is the first of many projects that we want to complete and help make our house a home. Armed with a few tools, some wood and wood glue, what could go wrong!
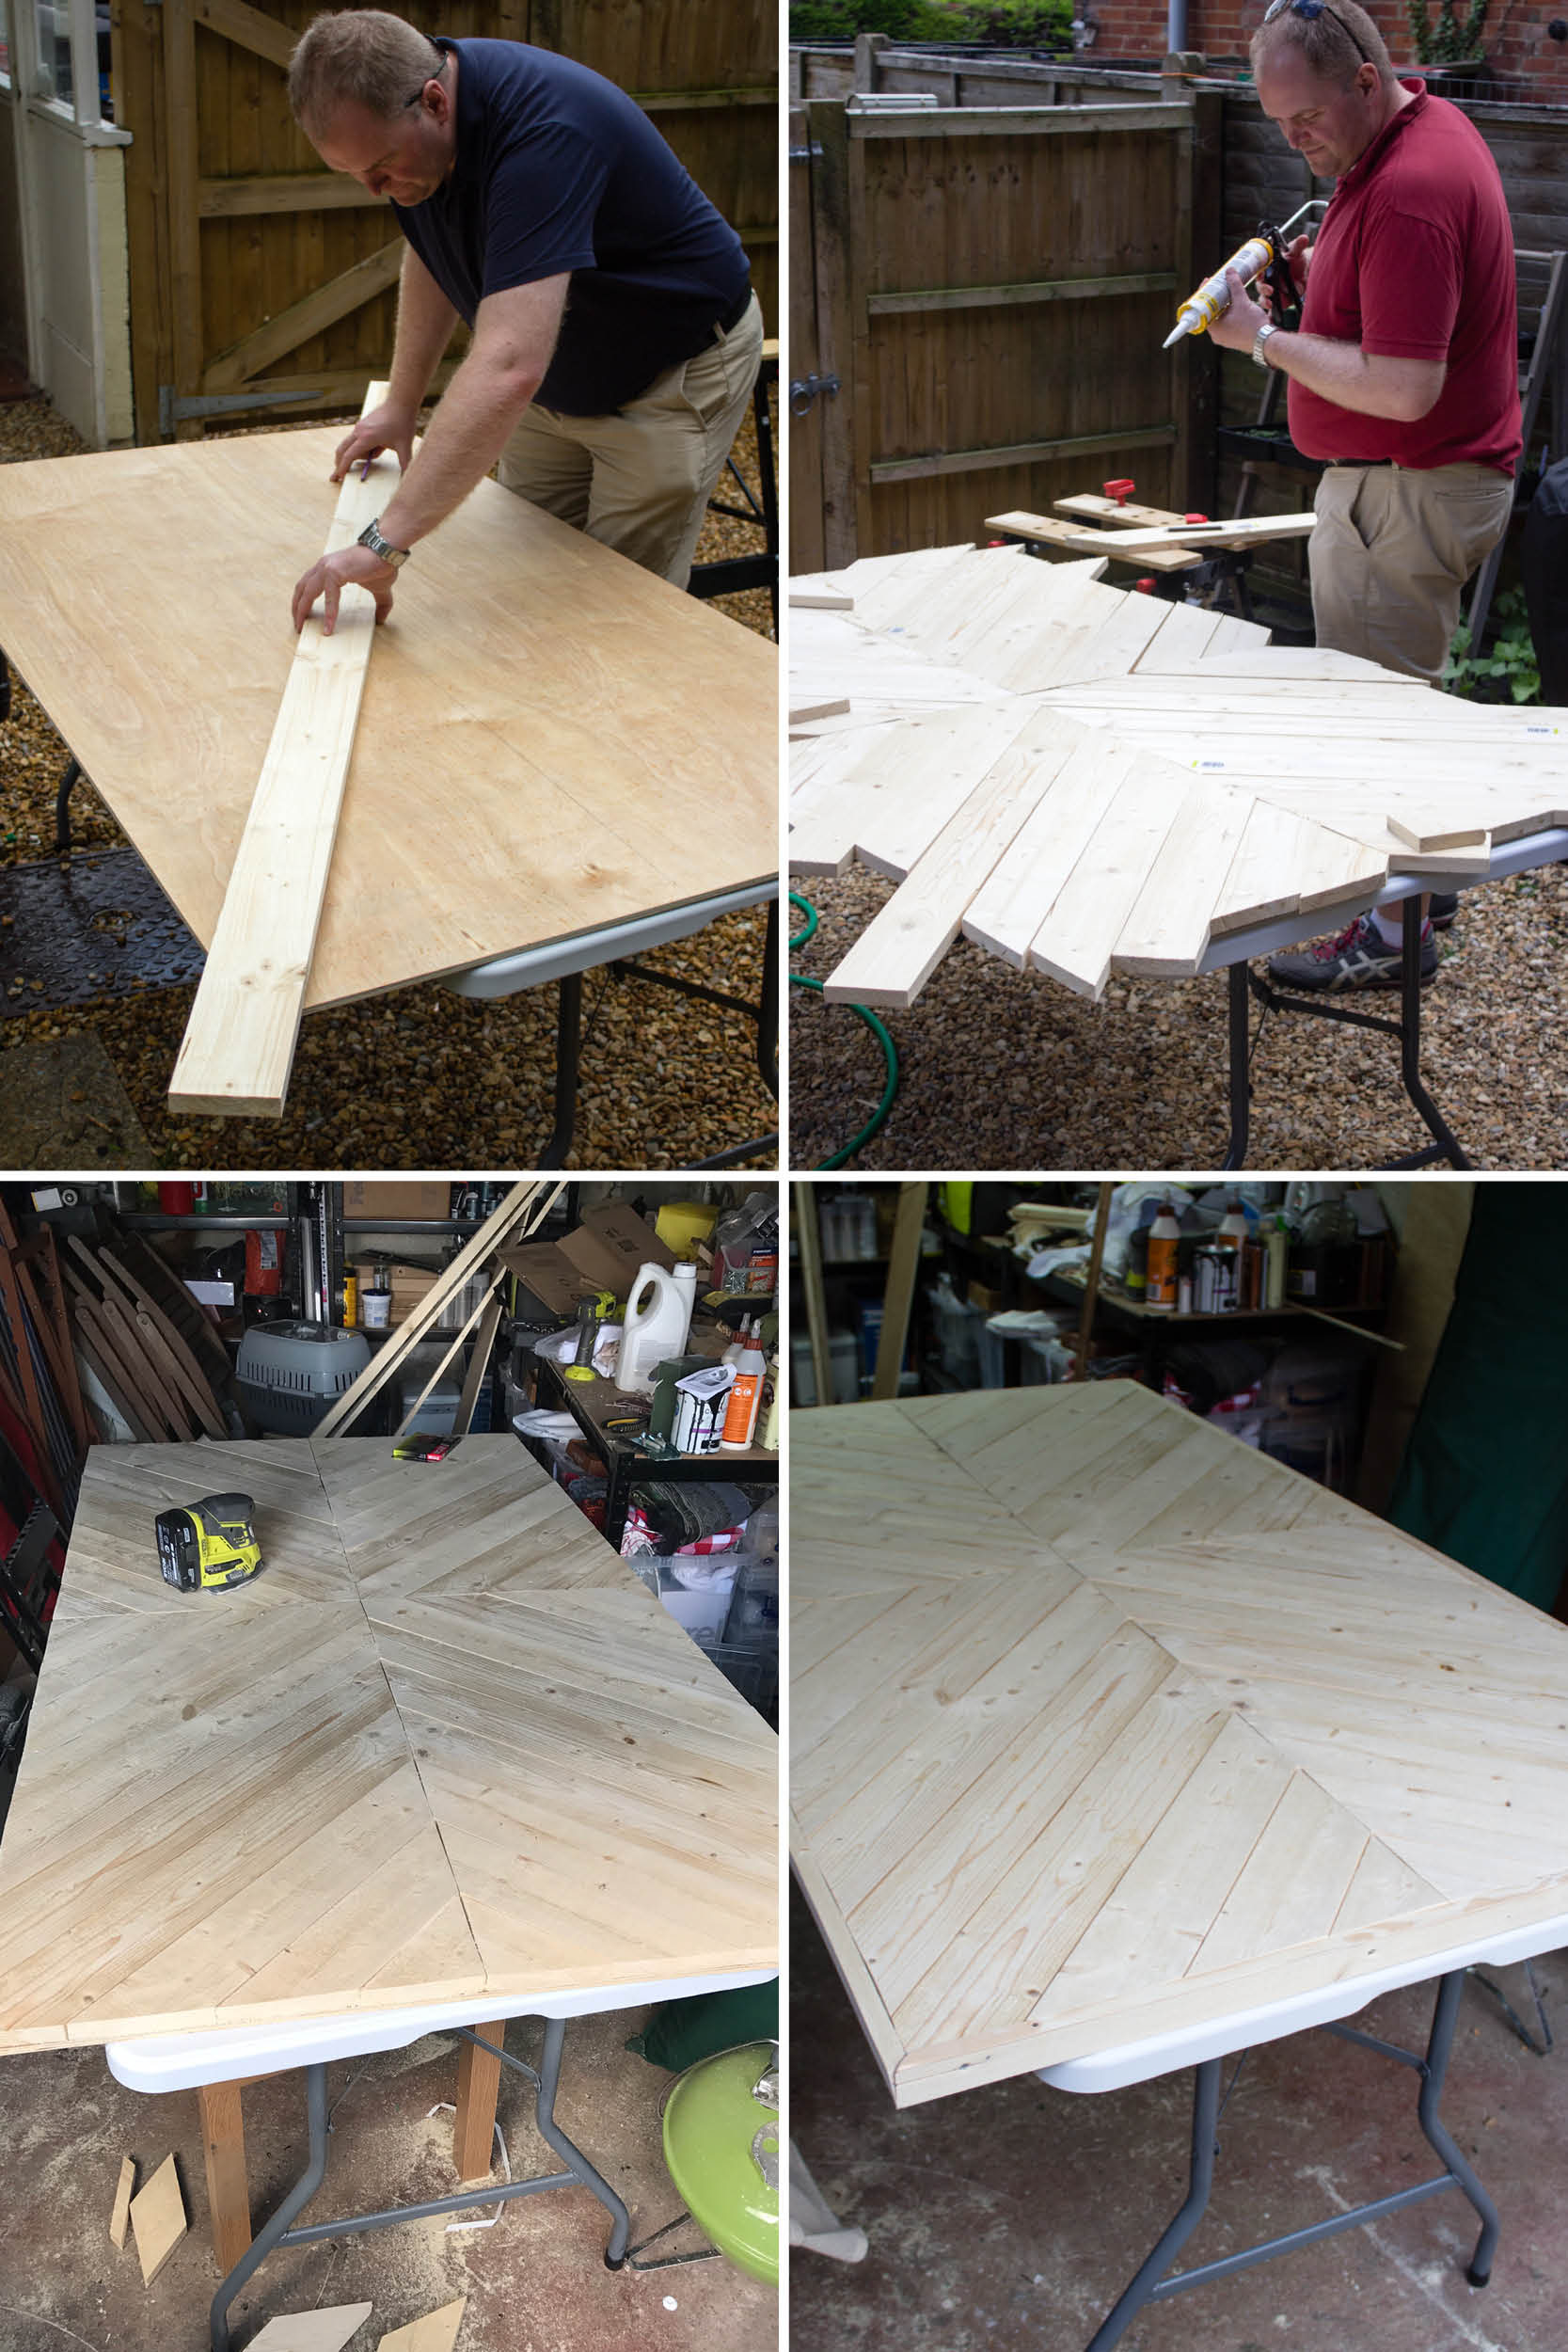
We decided that we needed a base board to help support the head board and had this cut to size at B&Q. Unfortunately we were unable to find the wood at the thickness we wanted, so settled for planks at 19mm. We had originally wanted to use pallets but don’t yet have a planer to strip the wood down. With the planks, some careful measuring, and a few trial cuts, we were able to get the pieces cut at roughly the right angle using the circular saw. It would have been easier with a mitre, but will need to save up to get one of those!
Starting with the middle join of four planks, we worked our way out to the edges making sure that every piece fitted snuggly with the next. Once all the pieces were cut, we glued them down with a little space between each plank as we could manage. Once dry, we flipped the board over and screwed each plank in through the base board to make it more secure and saw off the over hanging ends of each plank. Flipping it back, we then started sanding down the surface of the planks to make them as smooth as possible and attached the trim.
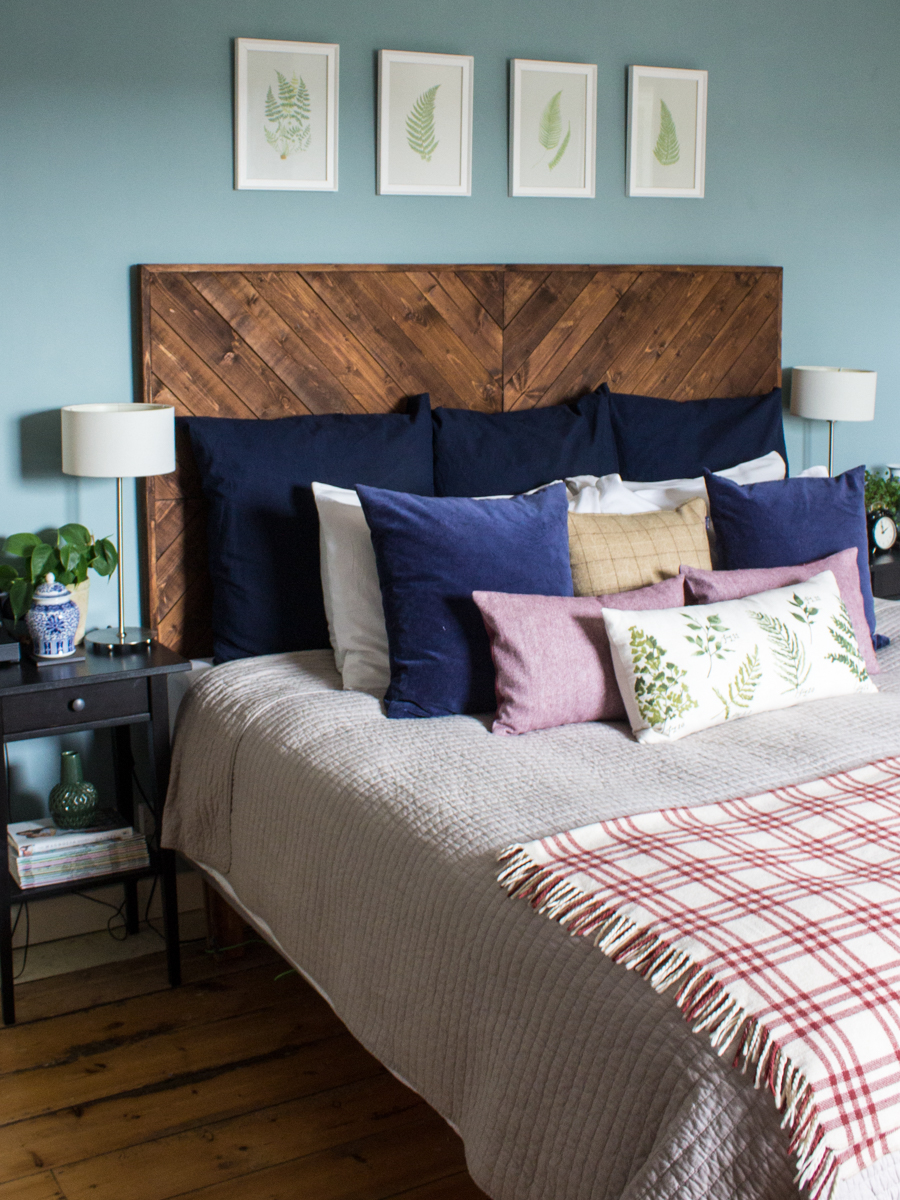
After a few days of sanding, we applied a stain on the wood to give it a warmer colour. We decided that the wood colour Medium Georgian Oak was best for the headboard and compliment the room well. We gave it three coats, a couple of teak oil coats to seal the wood and spent the next few days buffing!
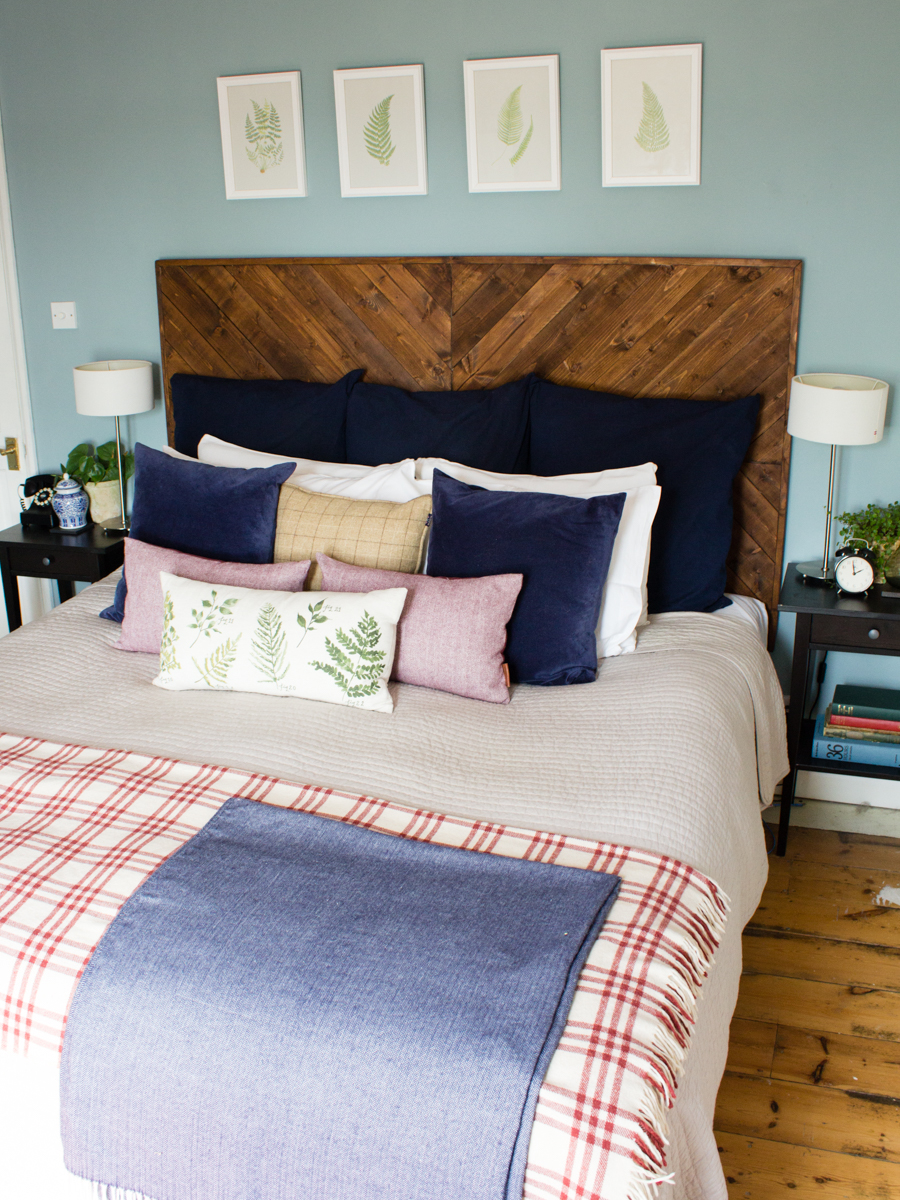
To hang the head board, we found a three piece headboard hanging kit on eBay. Given that the board is fairly heavy, we felt more comfortable with three securing points rather than two. A fair amount of measuring and the spirit level meant that we were able to attached the headboard with ease just below the mattress line.
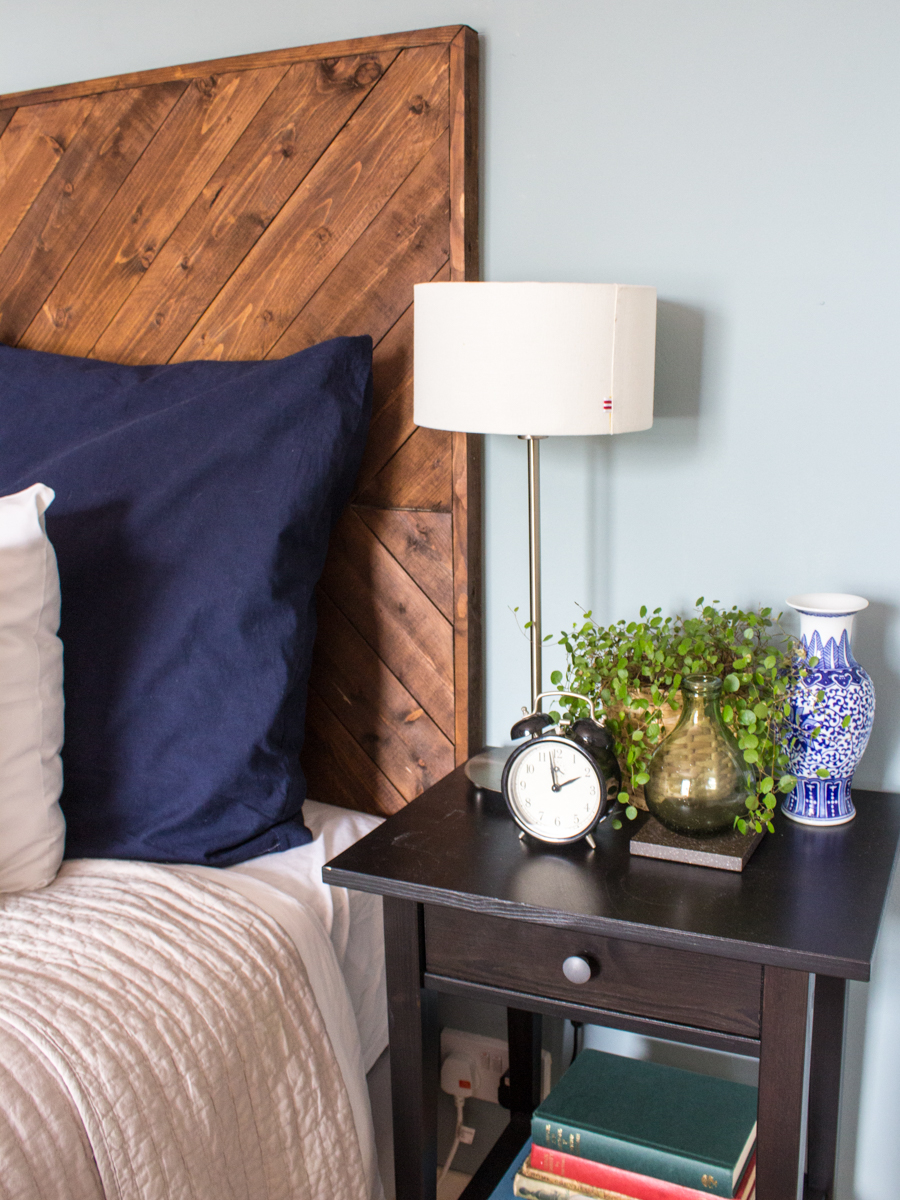
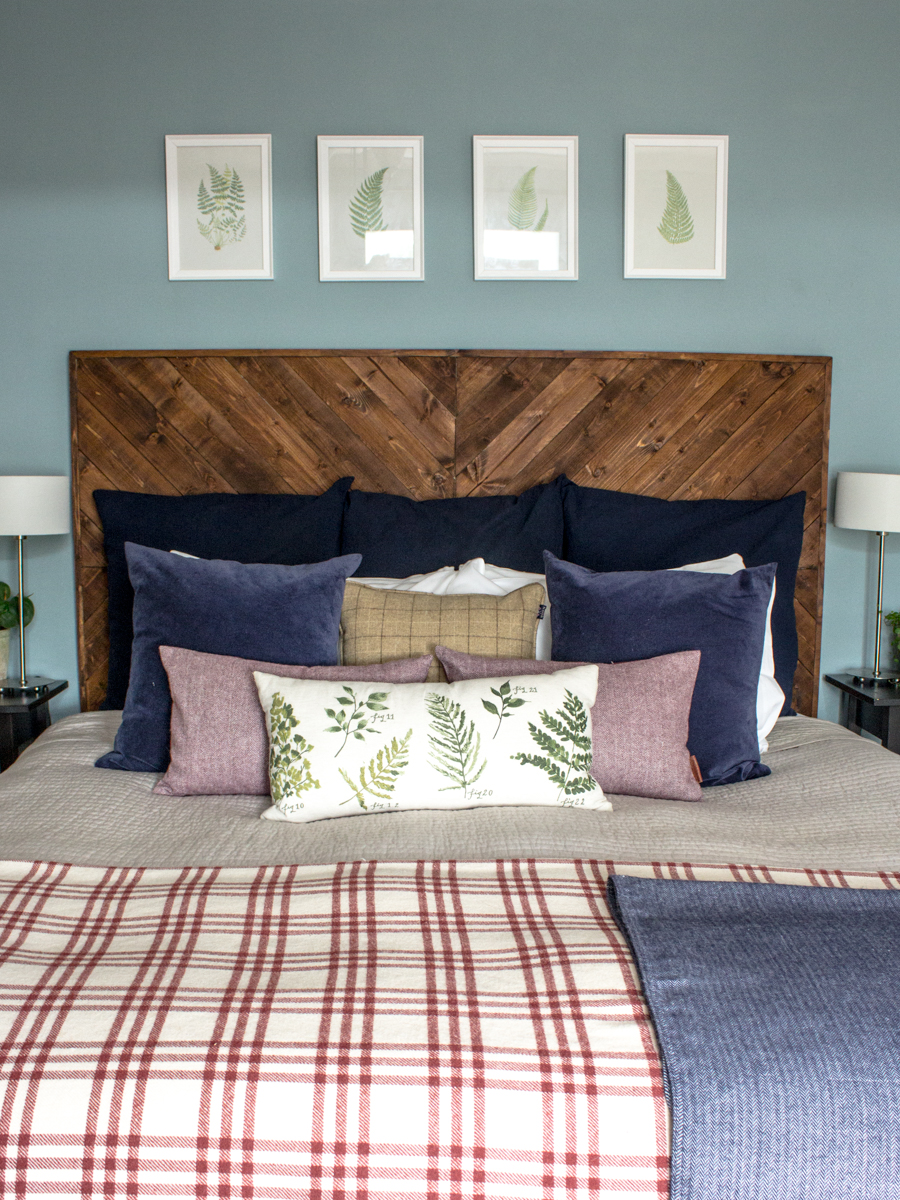
Job done!
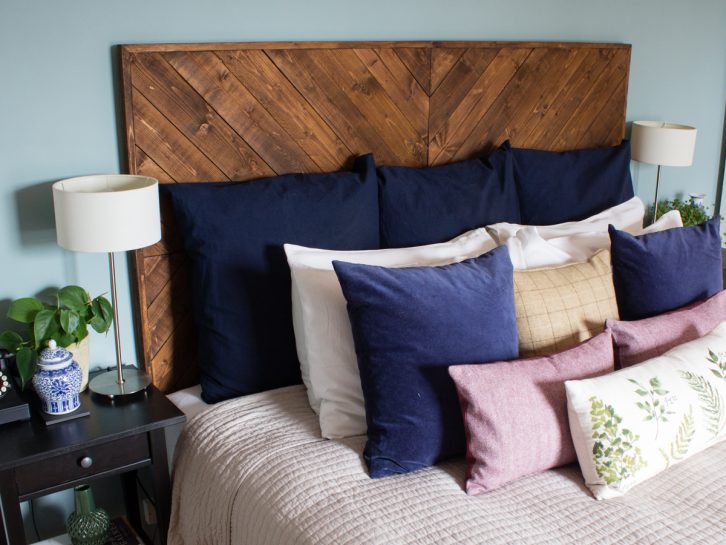
We are happy with how it turned out, if we ever make another one, we will need a mitre and a planer. What do you think? Does it help improve the look of the room?
